
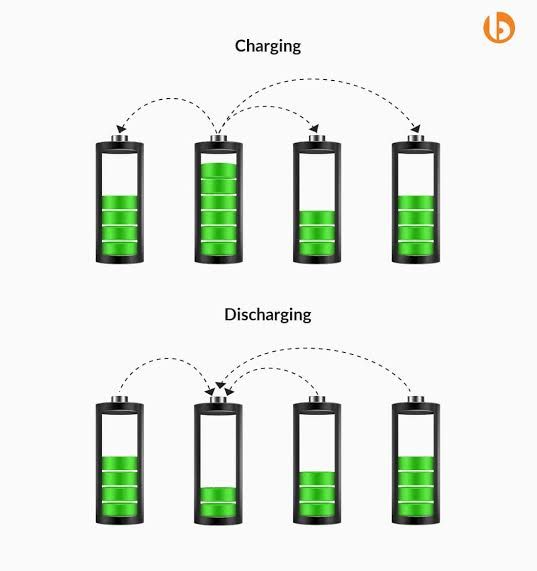
What Is Top Balancing?
Top balancing is the process of bringing all battery cells to the same voltage near 100% State of Charge (SOC).
In LiFePO₄ battery systems, charging normally stops between 3.45 V and 3.65 V per cell. Top balancing ensures that all cells reach this voltage together, instead of some cells filling early while others lag behind.
Without top balancing, a battery pack may appear “full” while some cells are still undercharged, or worse, some cells may reach overvoltage before charging is complete.
Why Top Balancing Is Important
Even brand-new LiFePO₄ cells are never perfectly identical.
Small differences naturally exist in:
- Capacity (how much energy a cell can store)
- Internal resistance (how fast it charges and discharges)
- Self-discharge rate (how quickly it loses voltage at rest)
Because of these differences:
- Some cells reach full voltage earlier
- Other cells lag behind
- The BMS may stop charging too early or too late
Top balancing aligns all cells at the same maximum voltage, resulting in:
- Maximum usable capacity
- More accurate SOC readings
- Reduced stress on individual cells
- Protection against over-voltage damage
Step 1: Pre-Check (Before Charging)
Before starting top balancing, you must understand the current condition of your cells. Skipping this step can greatly increase balancing time.
What to Do
- Measure and record the voltage of each individual cell.
- Identify the highest and lowest cell voltage.
- Calculate the voltage difference (spread).
How to Interpret the Results
- Voltage spread ≤ 0.10 V:
You may proceed directly to top balancing. - Voltage spread > 0.10 V:
It is recommended to:- Manually pre-charge the lower-voltage cells, or
- Temporarily connect all cells in parallel for a few hours to equalize
This step is optional but strongly recommended, especially for new builds. It can significantly reduce total balancing time.
Step 2: JK BMS Settings for Top Balancing
Proper BMS configuration is critical for safe and effective top balancing. Incorrect settings may cause early charge cutoff or excessive voltage stress.
Recommended JK BMS Parameters
- Start Balance Voltage: 3.40 V
- Balance Trigger Voltage: 0.005 V (5 mV)
- Cell Over-Voltage Protection (OVP): 3.64 V
- Recommend Charge Voltage (RCV): 3.63 V
- SOC 100% Voltage: 3.62 V
- Cell OVP Recovery (OVPR): 3.46 V
Optional (Recommended for Beginners)
During top balancing, the battery pack should not be discharged. Discharging the pack while balancing is in progress can interfere with the balancing process and significantly increase the time required to complete it.
Some inverters do not operate correctly when battery discharge is disabled at the BMS level. If your system requires the battery to remain connected, do not disable the discharge function. Instead, ensure that no loads are drawing power from the battery during top balancing.
If possible, temporarily isolate the battery from loads or ensure the inverter is not discharging the battery until balancing is completed.
Step 3: Charger / Power Supply Setup
Top balancing must be done using slow and controlled charging. Fast charging does not help balancing and often makes it worse.
Why Slow Charging Is Important
- The BMS balancer has limited balancing power
- If charging is too fast, voltage rises quicker than the balancer can correct
- This causes cells to hit overvoltage before balancing is complete
Charger Voltage Setting
Set the charger voltage to: Number of cells × 3.63 V
Examples:
- 4S → 14.4 V
- 8S → 28.8 V
- 16S → 57.6V
Important: Do not increase charger voltage to “speed things up”. Higher voltage does not improve balancing and may trigger BMS protection.
Charger Current Setting
Set charge current to 0.10C – 0.13C. Example: For a 314 Ah battery pack, use 20 A – 40 A.
Lower current is always safer. If unsure, choose the lower value.
Step 4: Begin Charging & Balancing
Start charging the battery pack.
Once cell voltages reach approximately 3.40 V,
the JK BMS will automatically activate balancing.
During this process, the active balancer transfers energy from higher-voltage cells
to lower-voltage cells.
What You Will See (This Is Normal)
- Some cells appearing much higher than others
- Voltage differences temporarily increasing
- Cell voltages rising and falling repeatedly
- Charging slowing down or pausing
This does NOT mean:
- The cells are defective
- The BMS is faulty
- The battery is unsafe
Large voltage differences are expected. This is the exact problem top balancing is meant to correct.
How Long This Takes
- Small imbalance: a few hours
- Large imbalance: up to 1–2 days
Do not rush this process.
Step 5: Verify Balance Completion
Top balancing is not considered complete just because the charger stops. The cell voltages must be verified and stabilized.
Verification Criteria
Confirm the following conditions:
- All cell voltages are ≥ 3.50 V
- Maximum cell voltage difference is < 0.010 V
If condition #1 is satisfied, temporarily adjust Cell OVP Recovery (OVPR) to 3.60 V.
This will allow the charger to trigger again and bring all cells slightly higher (typically around 3.60–3.65 V) so the BMS can continue balancing.
⚠️ Do not perform this step if any cell is below 3.50 V.
Allow the system to continue balancing until:
-
The cell voltage difference remains < 0.010 V.
Once stable:
-
Capture a screenshot of the cell voltages as documentation of the completed balance.
Final Steps (Do Not Skip)
- Let the battery rest for 2–4 hours
- Re-check cell voltages after resting
- Re-enable the discharge function in the BMS
- Apply JK BMS Configuration Guide For Longevity.
If voltages remain close after resting, the battery pack is properly top-balanced and ready for use.
Important Reminders for Beginners
- Large voltage differences during balancing are normal
- Balancing takes time — patience is required
- Do not stop the process early
- Do not increase voltage or current to make it faster
Slow and proper top balancing improves battery life, SOC accuracy, and long-term reliability.